


|
van de de Sleepcamera van 7.4v 2000mAh de Kabel van het Zonnepaneelusb met AC Adapter
Productdetails:
| Plaats van herkomst: | China |
| Merknaam: | Keepguard |
| Certificering: | FCC/CE/RoHs |
| Modelnummer: | KS01 |
Betalen & Verzenden Algemene voorwaarden:
| Min. bestelaantal: | 20pcs |
|---|---|
| Prijs: | FOB30USD |
| Verpakking Details: | 20pcs per karton |
| Levertijd: | 7-20 dagen |
| Betalingscondities: | T/T, Paypal, Alipay |
| Levering vermogen: | 10000pcs per maand |
|
Gedetailleerde informatie |
|||
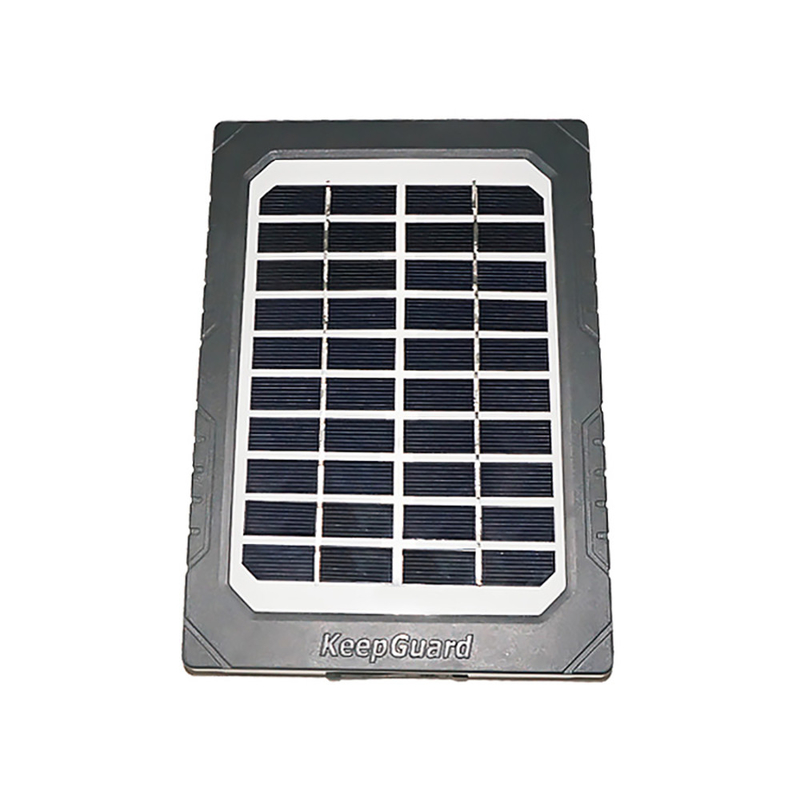
| Type: | Volledig Zwart Zonnepaneel | Productnaam: | De cameratoebehoren van het Keepguardzonnepaneel |
|---|---|---|---|
| Kleur: | Zwart | Functie: | de steunmacht, maakt camera laatste lang |
| Geschikt voor: | de jachtcamera | Sleutelwoorden: | AC adapter |
| Pakket: | Witte Doos | MOQ: | 20pcs |
| Markeren: | 2000mAh het Zonnepaneel van de sleepcamera,7.4v het Zonnepaneel van de sleepcamera,USB-Zonnepaneel van de Kabel het Jagende Camera |
||
Productomschrijving
18 Year Factory Potable Electric Car Cell Phone Solar Charger Mobile Phone Solar Charger
Thank you for purchasing the Solar Panel for all recent models of the Hunting Camera: KG695,KG770, KG790, KG795, KG892,KG895. Please refer to the notes below and the instructions in this manual to ensure that you are completely satisfied with this product.
If your Solar Panel does not seem to be functioning properly or if you are having any issues, please check the FAQ/Trouble shooting section. Problems are often due to something simple that was overlooked.
ABOUT THE SOLAR PANEL
The Solar Panel accessory (#KS21) is designed to function as a supplemental source of power for all current models. With the Solar Panel mounted near your camera, and connected to its external power input jack, you will find that your camera’s batteries last much longer before they need to be replaced. The Solar Panel has an internal lithium ion power core, which is continuously charged by the solar cells when they are exposed to the sun. Once connected, the camera will draw its power from the Solar Panel’s charged lithium battery for as long as possible, switching to its internal batteries only when the Solar Panel battery’s charge level is temporarily too low. As a result, the camera’s batteries will have a significantly extended life.
CHARGING THE SOLAR PANEL VIA USB
The Solar Panel also includes a USB port (see “Connections” on previous page), allowing the internal power core to be “pre-charged” before field use, from a computer’s USB connection or similar available source of USB power. Doing this is not required before using the Solar Panel, but will allow it to begin providing supplemental power to your camera immediately, instead of waiting for the solar cells to build up an adequate charge. To use this feature, connect a compatible USB cable (not included) from the Solar Panel to your computer. The charging indicator LED on the back of the Solar Panel will glow red while charging is in progress, then turn green when charging is complete (the internal power core is fully charged).
MOUNTING AND CAMERA CONNECTION
A mounting bracket is provided with the Solar Panel. The bracket should first be screwed into the tree your camera is attached to, at a point above the camera where the Solar Panel will be able to have an unobstructed exposure to the sun for the longest part of the day (if possible, avoid placing it under branches that will block the sun from reaching the solar cells).
With the swivel head firmly attached to the other end of the mounting bracket, connect the threaded bolt at the end of the swivel head to the mounting socket on the back of the Solar Panel. Loosen the swivel head knob, then the Solar Panel so that the solar cells are aimed at the sun. Tighten the knob on the swivel head to secure the Solar Panel in place.
Finally, use the supplied cable to connect the Solar Panel’s camera jack to your camera’s external power input jack (refer to the instruction manual for your model).
FAQ / TROUBLESHOOTING
Q: What does a flashing red charge indicator light mean?
A: Excessive output current (>2A) has been detected, and charging has been shut off. Disconnect the USB cable until the red light stops flashing, then try again. If the indicator continues to flash red, discontinue using the USB power source until it can be checked/repaired, or try a different USB power source.
Q: Will the Solar Panel work in the shade? What happens at night?
A: The Solar Panel’s solar cell array will continue to collect and utilize any available or reflected sunlight, but it requires unrestricted, full exposure to the sun in order to ensure that the internal power core remains fully charged. A fully charged power core is necessary so that the camera can continue to draw supplemental, “booster” voltage from the Solar Panel during overnight hours.
TECHNICAL SPECIFICATIONS
| Power Requirement | 5 V @ min 500mA |
| USB Charging Voltage | 4V ~ 6V |
| Discharging Voltage | 7V ~ 8.4V |
| Max. Discharge Current | 2A |
| Max. Charge Voltage Protection | 6V |
| Recommended Charging Time | 12 hours for full charge |
| Charging Priority | If both USB and solar charging sources are available, USB charging will have higher priority than solar. |
| Operating Temperature | -20 - 40°C (Storage temperature: -30 - 70°C) |
| Operating Humidity | 5% - 90% |
ONE YEAR LIMITED WARRANTY
Your product is warranted to be free of defects in materials and workmanship for one year after the date of purchase. In the event of a defect under this warranty, we will, at our option, repair or replace the product, provided that you return the product postage prepaid.
FCC COMPLIANCE STATEMENT:
This equipment has been tested and found to comply with the limits for a Class B digital device, pursuant to part 15 of the FCC Rules. These limits are designed to provide reasonable protection against harmful interference in a residential installation.
Operation is subject to the following two conditions:
(1) This device may not cause harmful interference
(2) this device must accept any interference received, including interference that may cause undesired operation.
This equipment generates, uses and can radiate radio frequency energy and, if not installed and used in accordance with the instructions, may cause harmful interference to radio communications. However, there is no guarantee that interference will not occur in a particular installation. If this equipment does cause harmful interference to radio or television reception, which can be determined by turning the equipment off and on, the user is encouraged to try to correct the interference by one or more of the following measures:
• Reorient or relocate the receiving antenna.
• Increase the separation between the equipment and receiver.
• Connect the equipment into an outlet on a circuit different from that to which the receiver is connected.
• Consult the dealer or an experienced radio/TV technician for help. The device does not contain any user-serviceable parts. Unauthorized repairs or modifications could result in permanent damage to the equipment, and will void your warranty and your authority to operate this device under Part 15 regulations.
The shielded interface cable which is provided must be used with the equipment in order to comply with the limits for a digital device pursuant to Subpart B of Part 15 of FCC Rules.